
What a ticket shows
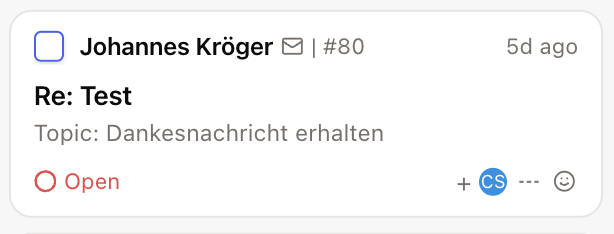
The ticket header and preview show the context agents need before replying:- contact name
- channel
- ticket number
- creation time
- subject
- AI-generated summary
Ticket actions
Right-click a ticket in the inbox to open the context menu. Use it to keep ownership and reporting accurate:- change status: open, on hold, resolved, or closed
- add or remove tags
- assign an agent or team
- set priority
- set sentiment
- change ticket language
- snooze the ticket
- copy the ticket ID or link from the Copy submenu
- export the ticket
- merge duplicate tickets
- delete or restore the ticket when your permissions allow it

Translate conversations
You can translate a ticket manually from the context menu, or turn on Auto-translate inbox in Settings → Account → Ticket preferences. When auto-translate is enabled and the ticket language differs from your working language:- messages stay readable on first open
- a banner shows Translating from while bulk translation runs, then Translated from when it finishes
- individual messages show a small Translating… indicator in the header while that row is still loading
Marketing consent
When marketing consent is enabled for your workspace, the customer info panel shows consent for each of the contact’s email and WhatsApp identifiers. You can:- see the current subscription status per identifier
- update consent when your permissions allow it
- open History to review who changed consent, when, and why
Reply to a customer
The conversation history appears above the reply area. Use the reply area to send customer replies, internal notes, or forwards. For email tickets, turn on Attach ticket conversation in Settings → Ticket settings → Email replies to include previous messages in outbound emails by default. Agents can still add or remove history from the reply toolbar before sending. Some channels enforce a maximum reply length. When a limit applies, the composer shows a live character counter. If you go over the limit, the send button stays disabled and you see an explicit warning. Character limits apply to customer replies only — internal notes are not capped.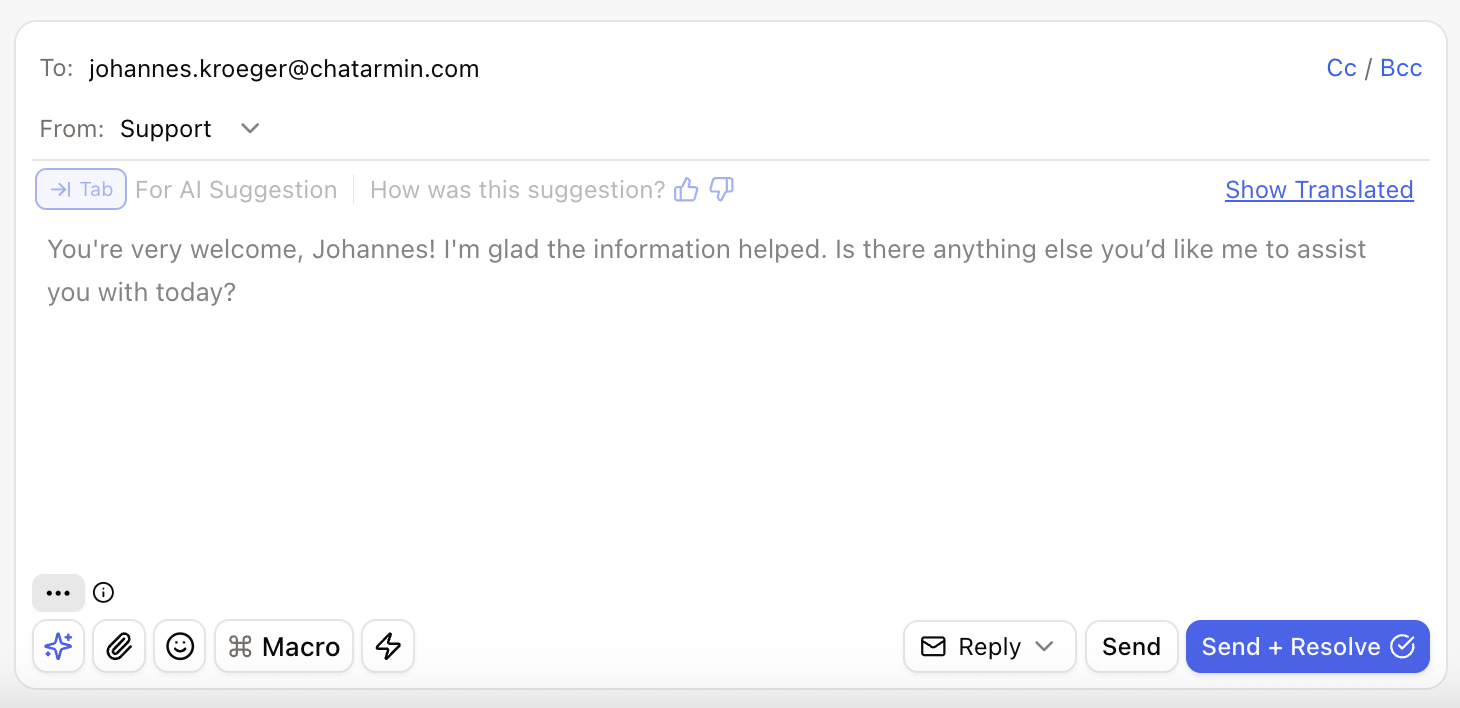
- give AI feedback with the star button
- add attachments and emojis
- insert a macro
- use available AI Agent actions
- send and resolve in one action
Failed outbound messages
When a reply fails to send, the message shows an inline error footer under the bubble with the failure reason and a recovery action. Depending on the failure type, you may see:- Retry now for transient errors
- Open Channel Settings or Reconnect when the channel needs attention, such as expired OAuth for Gmail or Microsoft
- no action when retry would not help, such as spam or unsubscribe blocks
Order actions from the inbox
When a Shopify order appears in the ticket sidebar, open the order actions menu to run supported operations without leaving the ticket:- cancel order
- refund
- reorder
- edit order details such as shipping address, tags, or notes
Best practices
- Resolve tickets only when the customer issue is complete.
- Use internal notes for team context that customers should not see.
- Keep tags and ticket fields updated before resolving, so reporting stays useful.
- Use macros for repeated answers, then edit the final reply for the specific customer.