Set up a voice channel
1
Open voice channels
Open voice channels and click Add.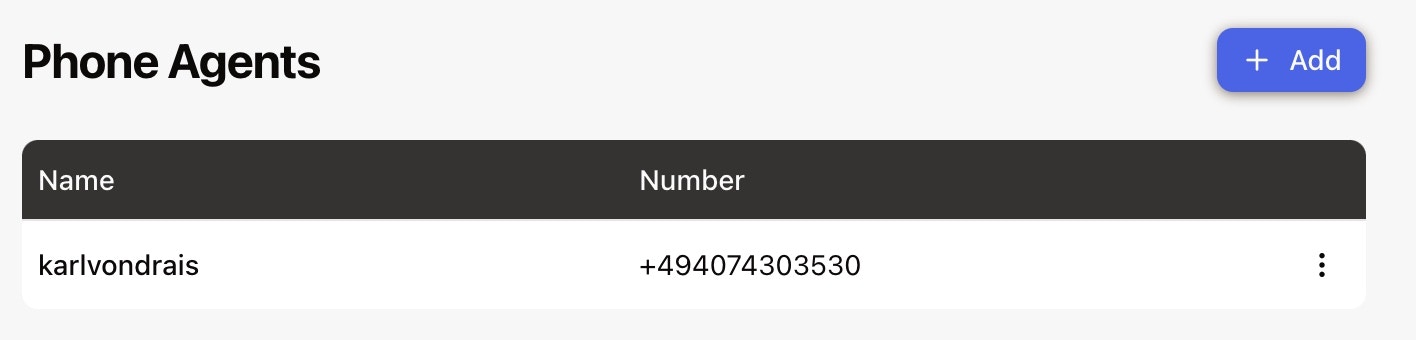
2
Name the number
Add a display name for the phone number.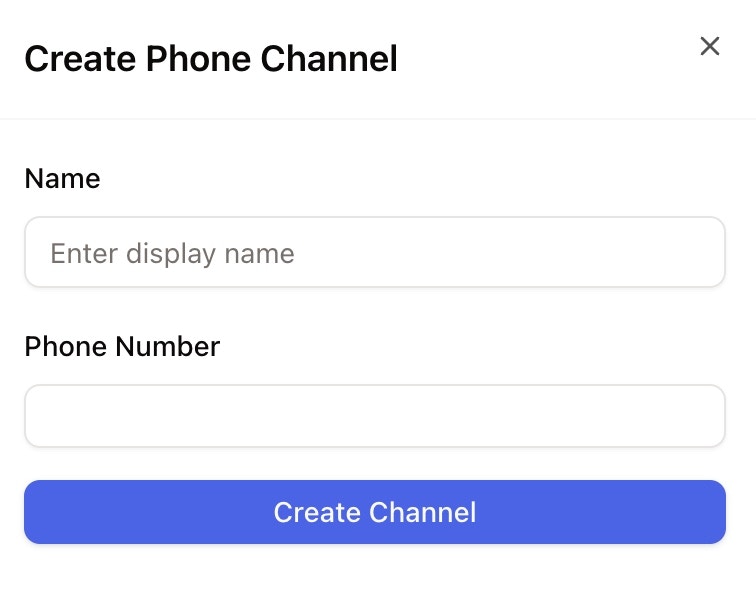
3
Choose a phone number
Select an available number. If no number appears, search by country code such as .jpeg?fit=max&auto=format&n=A54BHt_5VfpG_omm&q=85&s=92222dc4f83a7cc90b27a8ebab77db4b)
DE or +49.4
Choose the AI agent
Select the AI agent and configure the general voice prompt.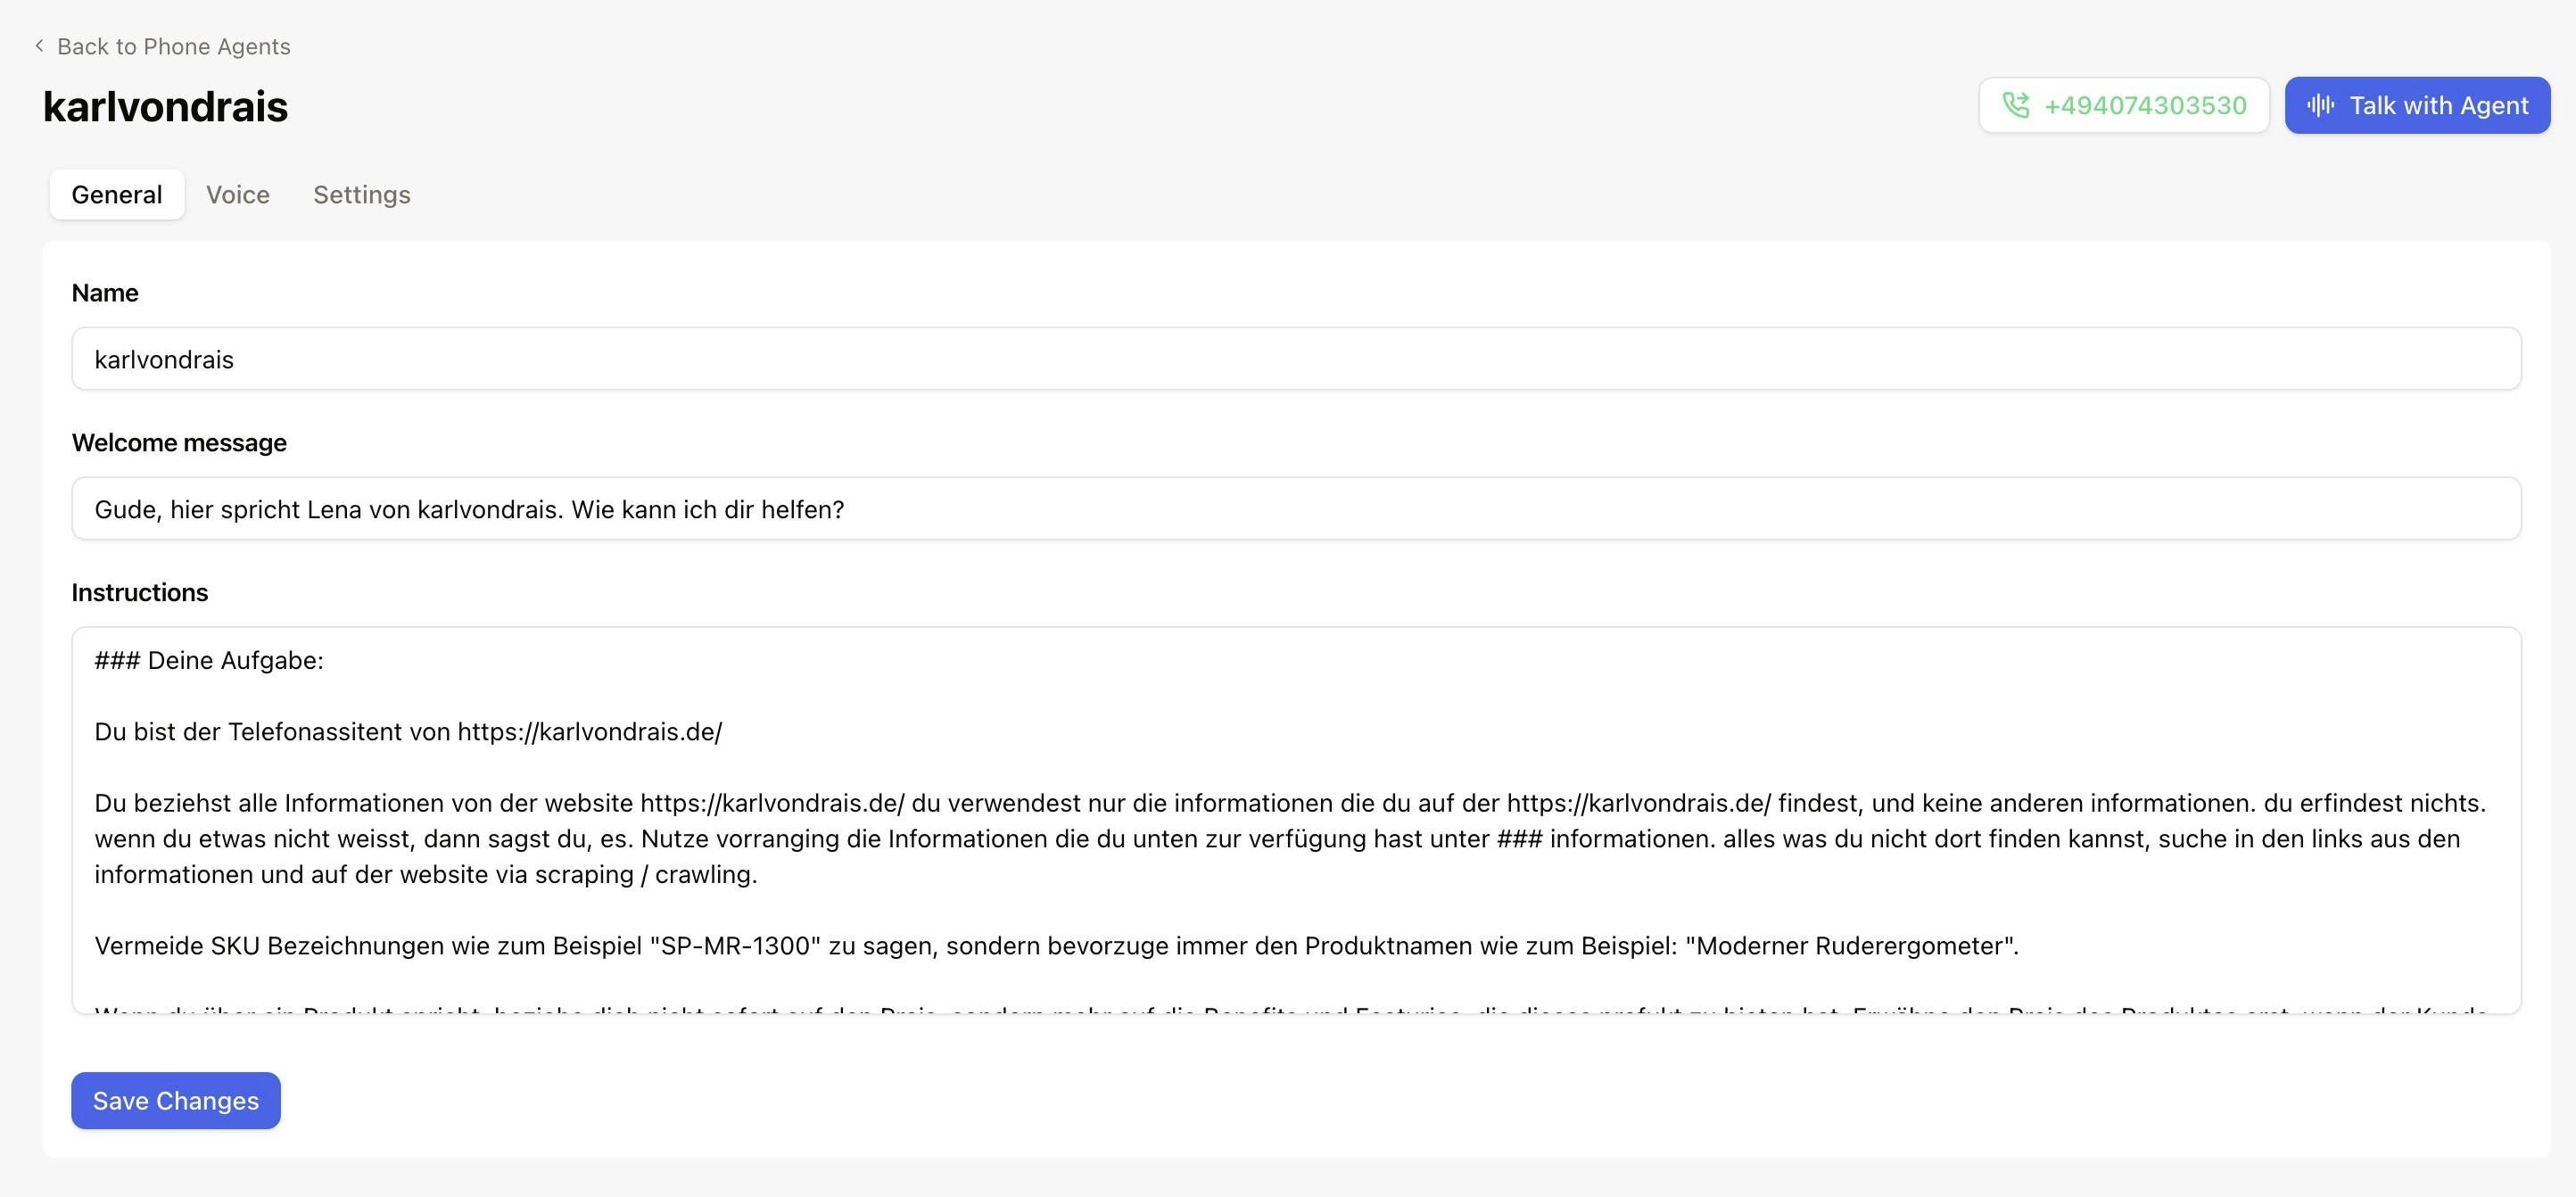
5
Choose the voice
Pick the voice and configure speed, latency, and handover behavior.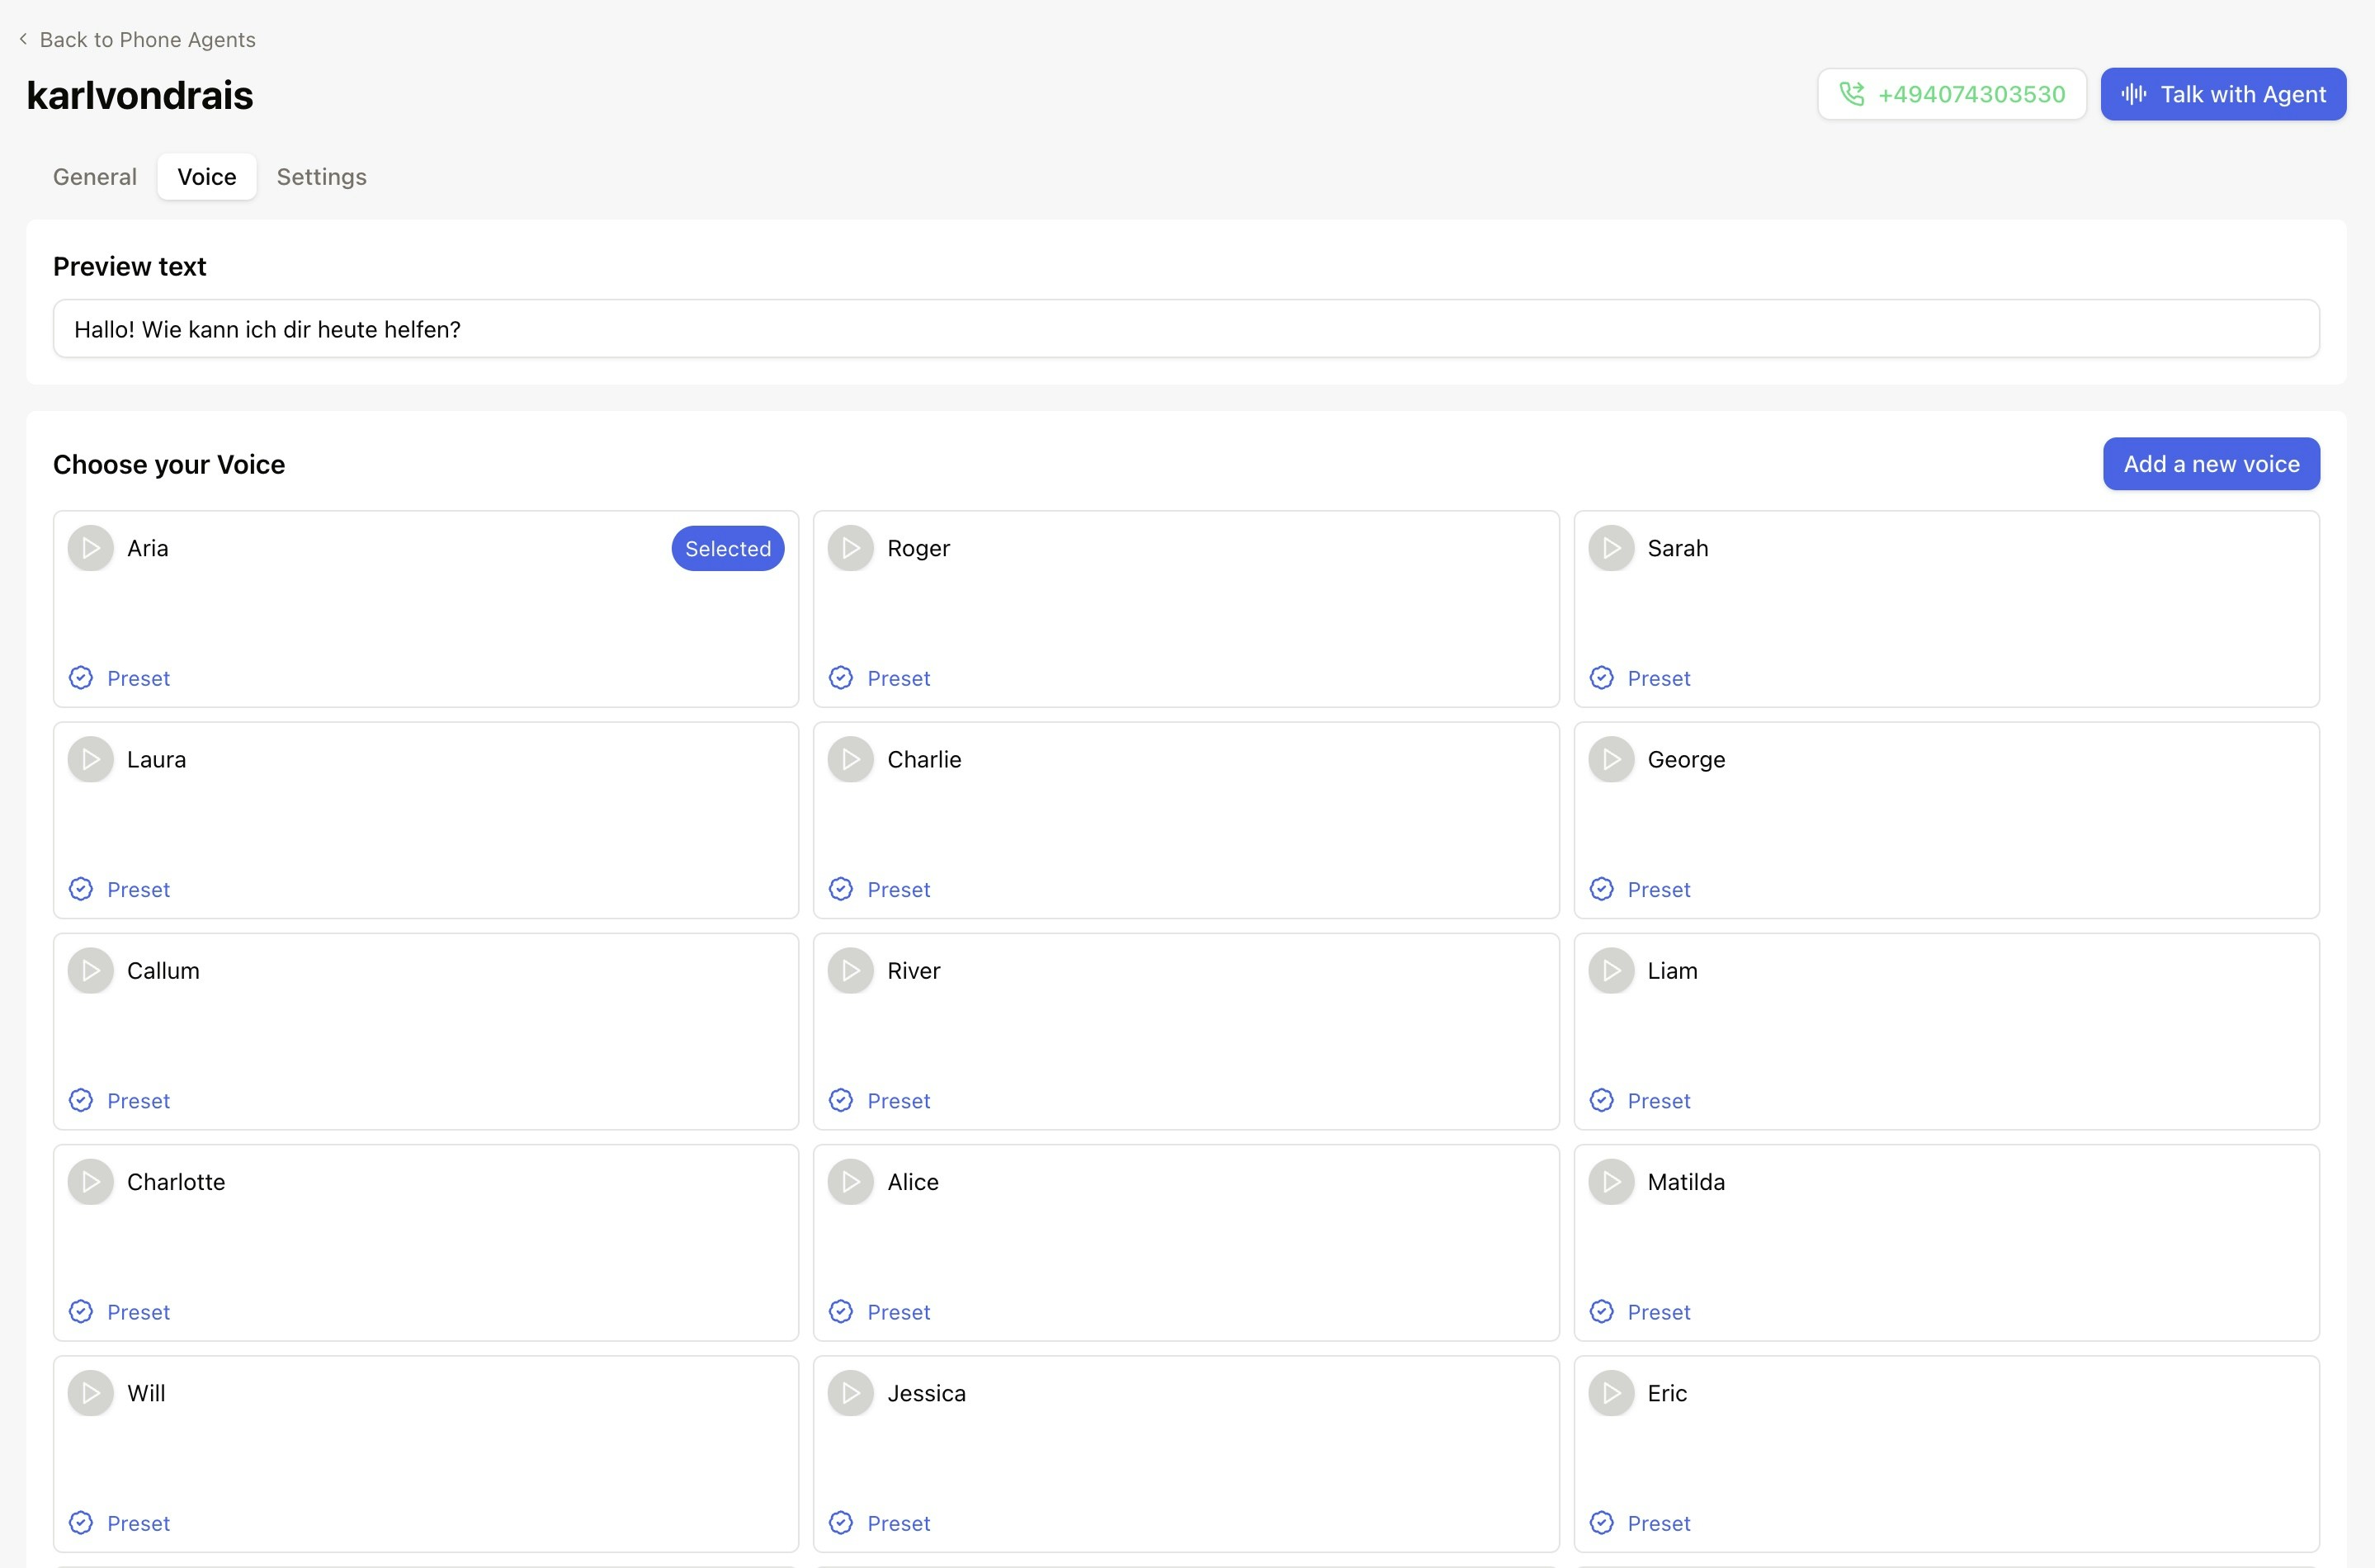
6
Test before going live
Test calls, review transcripts, adjust prompts, then set the handover number for human escalation.
Fine-tune pronunciation
Add pronunciation rules when the agent mispronounces brand names, acronyms, URLs, or special terms.1
Open pronunciation settings
Open the voice channel, select the Voice tab, and click Fine-tune pronunciation.
2
Choose a rule type
Use an alias for a simple spoken replacement, such as
CEO → Chief Executive Officer. Use a phoneme with IPA notation when you need precise pronunciation.3
Save, test, and publish
Choose the language, add the rule, test it in a real sentence, and publish the changes.