
What the inbox does
Use the inbox to:- see all open customer conversations in one place
- segment work with saved views and subviews
- assign tickets to agents or teams
- apply tags, priorities, sentiment, and custom ticket fields
- reply with AI drafts, macros, internal notes, forwards, and automation actions
Core concepts
Tickets
Every customer conversation becomes a ticket with status, assignee, channel, and context.
Views and filters
Save filtered ticket lists for teams, brands, shops, languages, or automation reviews.
Tags
Add structured context to tickets manually, through rules, or with auto-tagging.
Macros
Send consistent replies faster and give AI examples of your brand voice.
Side conversations
Email suppliers, carriers, or partners from a ticket without mixing those threads into the customer conversation.
SLAs
Apply response-time targets and surface breaches in the inbox.
Spam
Detect, tag, resolve, and block spam before it clutters open queues.
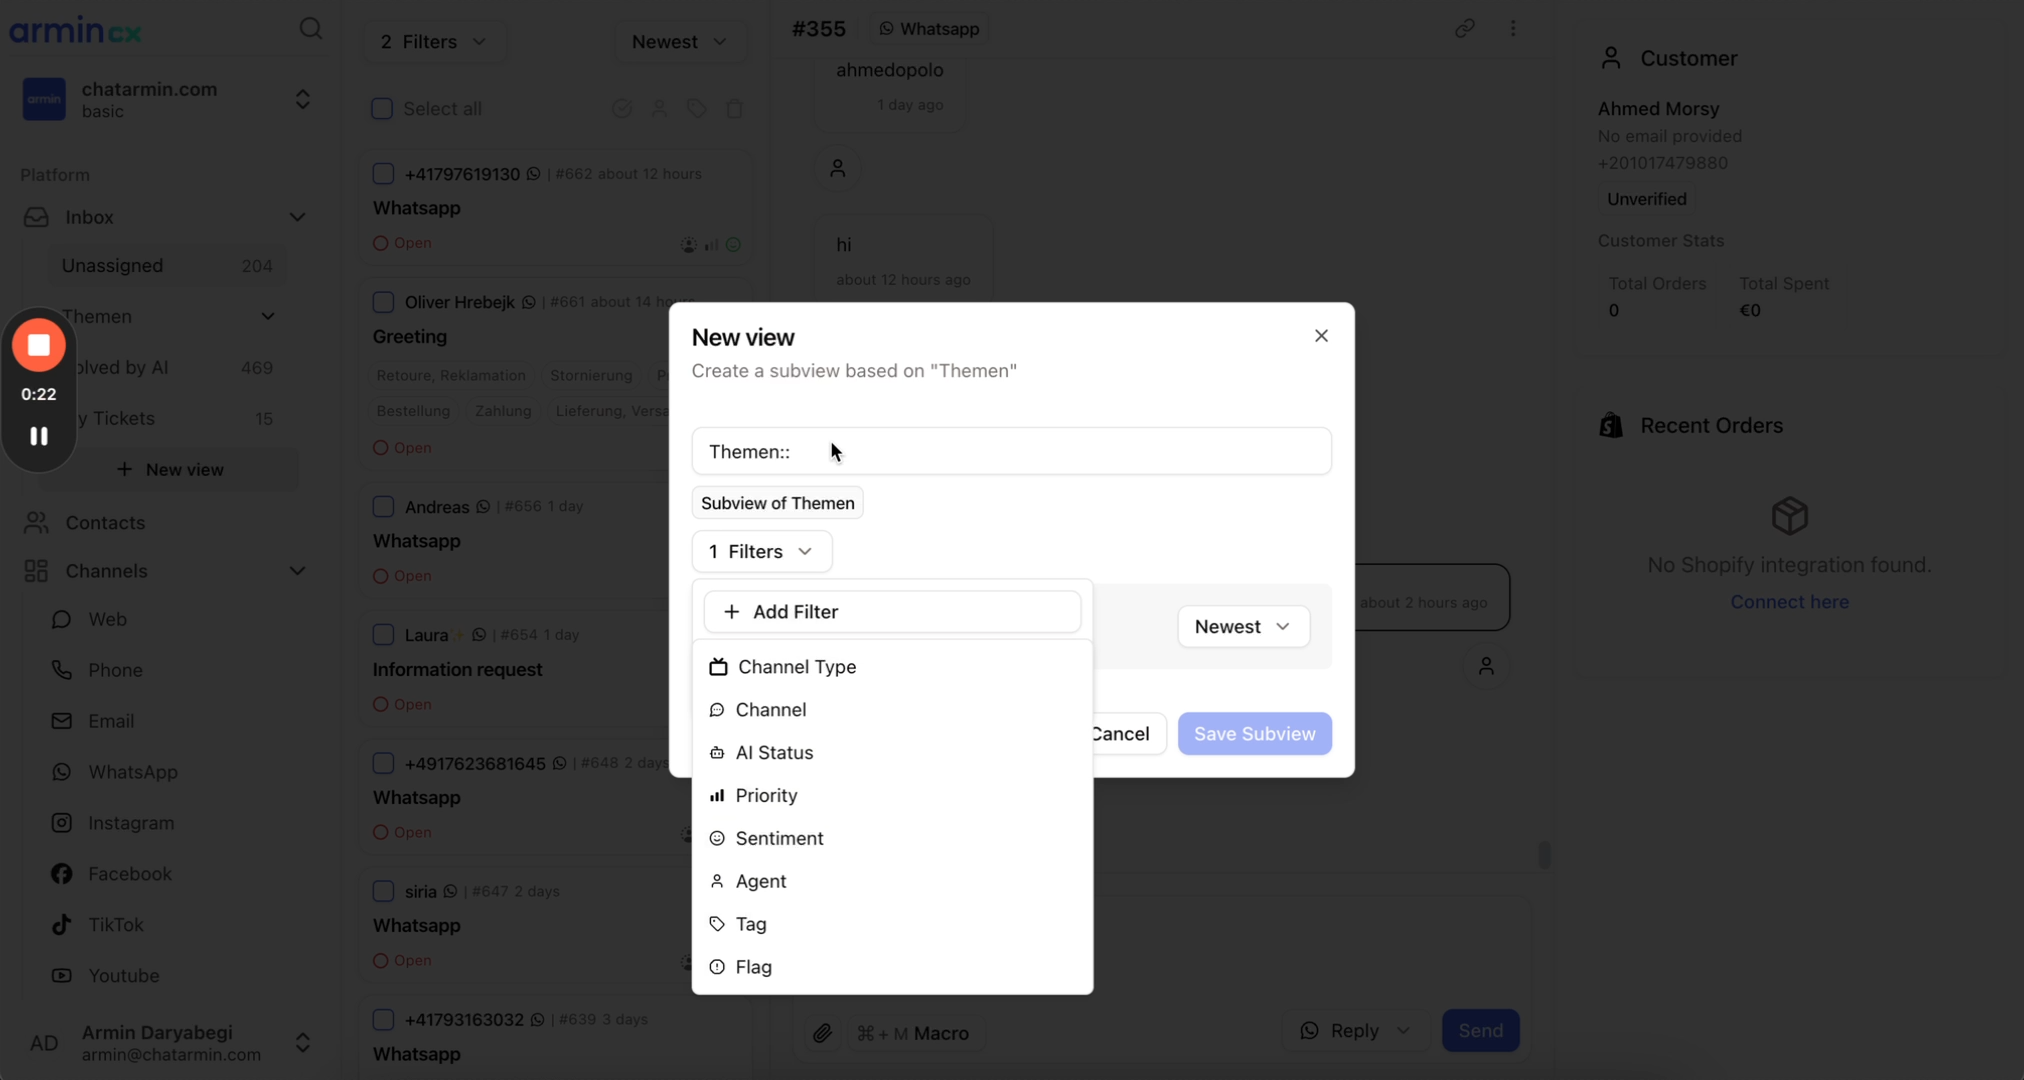
Create a subview
Subviews inherit the parent view’s filters when you create them. After creation, the subview keeps its own filter set.1
Add a view
In the inbox sidebar, click Add view.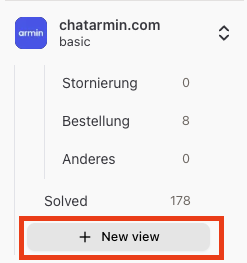
2
Name the subview
Use the format 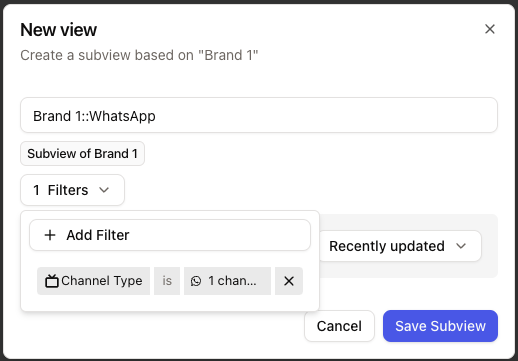
Parent view::Subview name.3
Adjust the filters
Change the subview filters to match the tickets it should show.
Updating a subview does not change the parent view. The subview only shows tickets that match the filters saved on the subview itself.